
Garlic, with its pungent aroma and robust flavor, is a kitchen essential with a robust flavor. Beyond its culinary delights, garlic is also a versatile and relatively low-maintenance crop to grow in your garden. If you’ve ever wondered how to grow garlic and enjoy a bountiful harvest, you’re in the right place. In this comprehensive guide, we’ll take you through the steps needed to cultivate this flavorful bulb from start to finish.
Why Grow Garlic?
Before we dive into the details, let’s talk about why you should consider growing garlic:
- Flavor and Freshness: Homegrown garlic has a more robust flavor compared to store-bought varieties, and you can enjoy it fresh from the garden.
- Health Benefits: Garlic is known for its health benefits, including immune-boosting properties and potential for lowering blood pressure and cholesterol.
- Cost-Efficient: Growing garlic at home can save you money in the long run, as you won’t need to purchase it regularly.
- Gardening Experience: Garlic is relatively easy to grow, making it an excellent choice for both novice and experienced gardeners.
Now, let’s get our hands dirty and explore the steps to successfully grow garlic.
Step 1: Choose the Right Garlic Variety
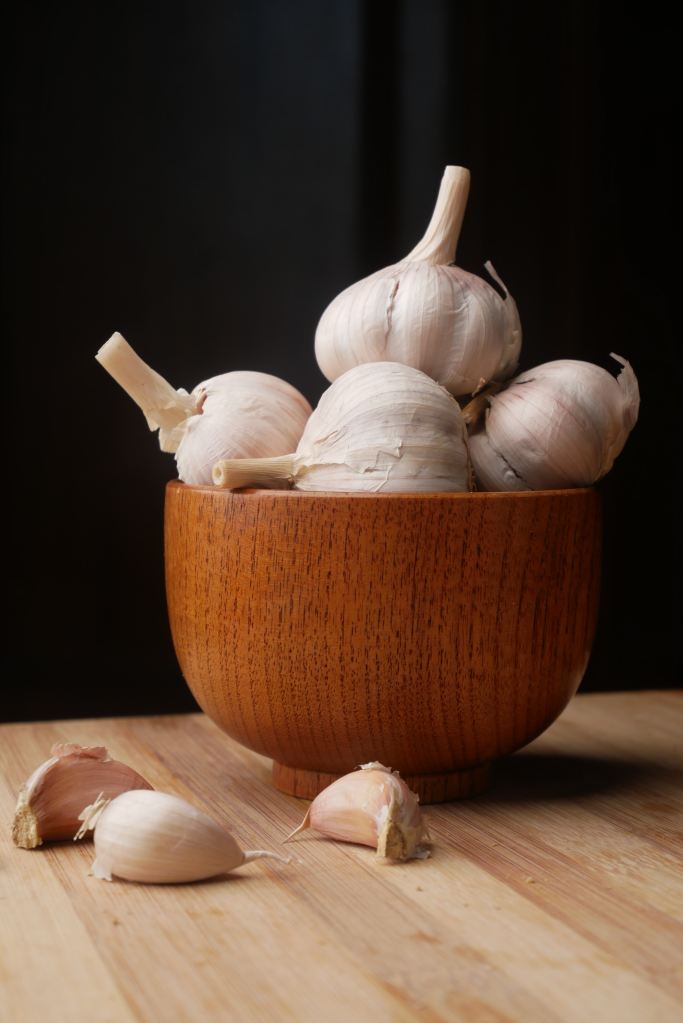
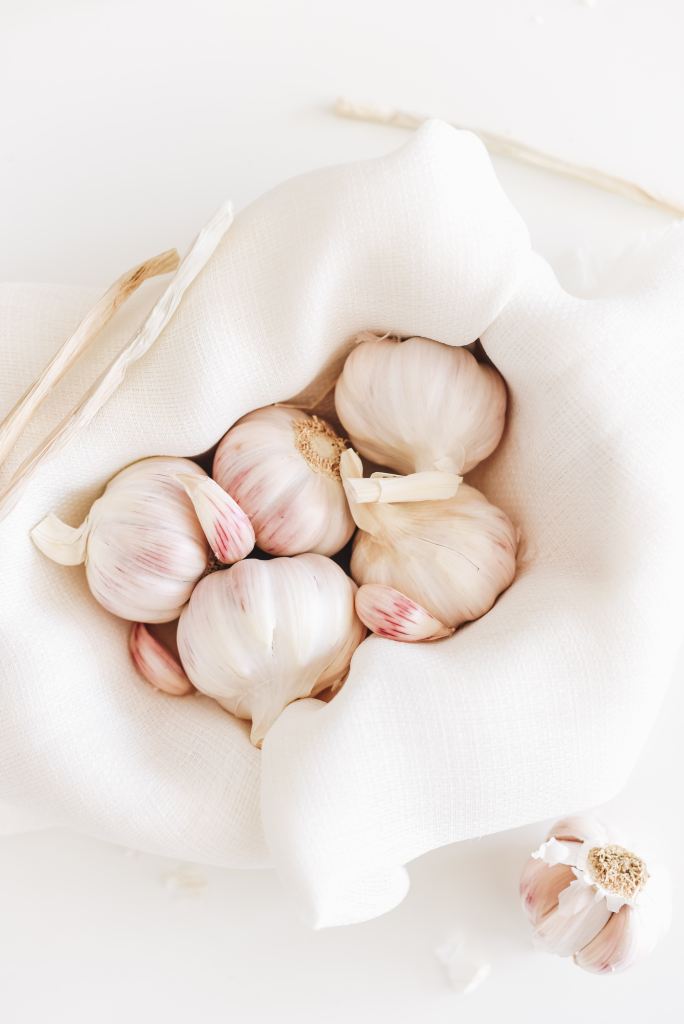
There are two main types of garlic: hardneck and softneck. Each has its own characteristics, so choose the one that best suits your preferences and climate. The difference you may ask? Hardneck varities usually produce smaller bulbs, but the payoff is in getting larger cloves. While softneck is the opposite, larger bulbs but they are packed densely with smaller cloves.
Common hardneck varieties include Rocambole and Purple Stripe, while softneck varieties like Silverskin are often favored for their excellent storage qualities.
Step 2: Select the Ideal Planting Time
Garlic is typically planted in the fall, allowing it to overwinter and develop strong root systems before spring. In most regions, aim for a planting date between late September and early November. Ensure the soil temperature is between 50°F and 75°F. Garlic typically takes 8 to 9 months to be harvested from a clove.
Step 3: Prepare the Soil
Garlic thrives in well-drained soil with good organic matter. Prepare your garden bed by adding compost or well-rotted manure to improve soil fertility. Garlic prefers a slightly acidic to neutral soil pH (6.0-7.0).
Step 4: Planting Garlic Cloves
Break apart the garlic bulb into individual cloves just before planting. Plant each clove with the pointed end up and the flat end down, about 2 inches (5 cm) deep and 4-6 inches (10-15 cm) apart in rows spaced 12-18 inches (30-45 cm) apart.

Step 5: Provide Adequate Water and Mulch
Keep the soil consistently moist, especially in the early stages of growth. Apply a layer of mulch, such as straw or shredded leaves, to help retain moisture, suppress weeds, and regulate soil temperature.
Step 6: Fertilize and Maintain
Feed your garlic plants with a balanced fertilizer in the spring, following package instructions. Remove any flower stems (scapes) that emerge to encourage bulb development. Additionally, weed regularly to prevent competition for nutrients.
Step 7: Harvesting Garlic
Garlic is usually ready for harvest in late spring or early summer when the lower leaves start to turn yellow and brown. Gently dig up the bulbs, being careful not to damage them. Allow the harvested garlic to cure in a cool, dry, well-ventilated place for a few weeks to promote proper drying and storage.

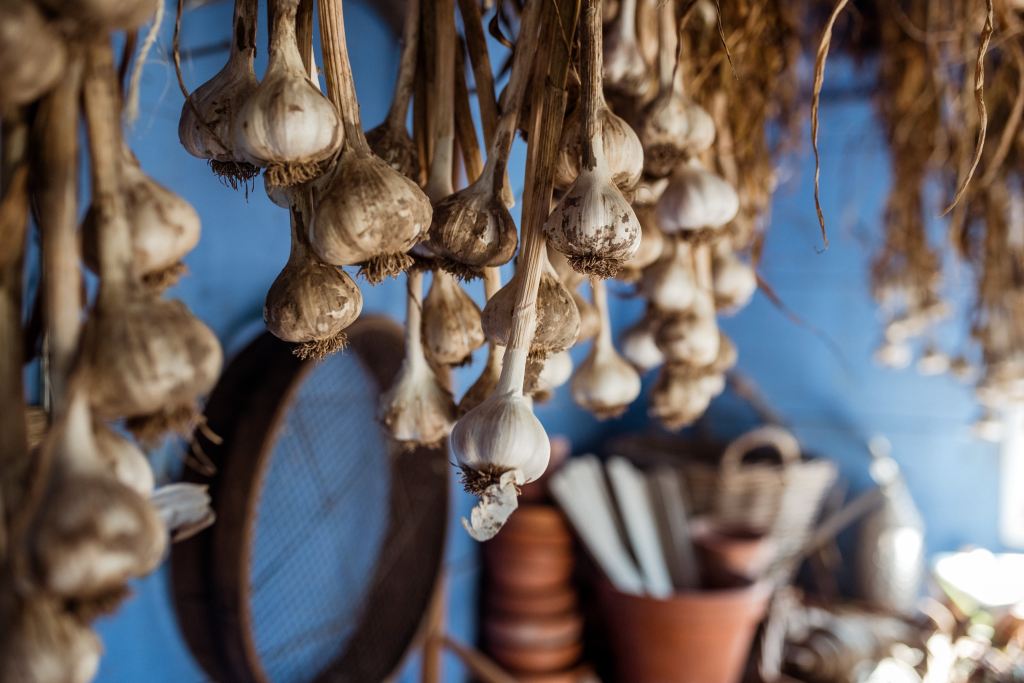
Step 8: Store Your Garlic
You will have to go through the process of curing them to store your garlic long term. Which is essentially just hanging them to dry for a period of time in a well-ventilated place. You can either tie them in bundles of 5 or 6 and hang bulb side down, or you can do a neat braid with them all and hang to let cure. Then all you have to do is leave them there for about 10-14 days. Inadequate airflow will cause mold to grow on your garlic- and trust me this isn’t something you want to experience after waiting 9 months to harvest!
After curing, trim the roots and store your garlic in a cool, dark, and dry place. Properly stored garlic can last several months, ensuring a steady supply for your kitchen.
By following these steps, you can enjoy a bountiful harvest of homegrown garlic that will add a burst of flavor to your favorite dishes and provide you with a rewarding gardening experience. Growing garlic is not only easy but also a gratifying way to connect with nature and your culinary creations. So, roll up your sleeves, plant some garlic, and savor the fruits of your labor in no time!
