
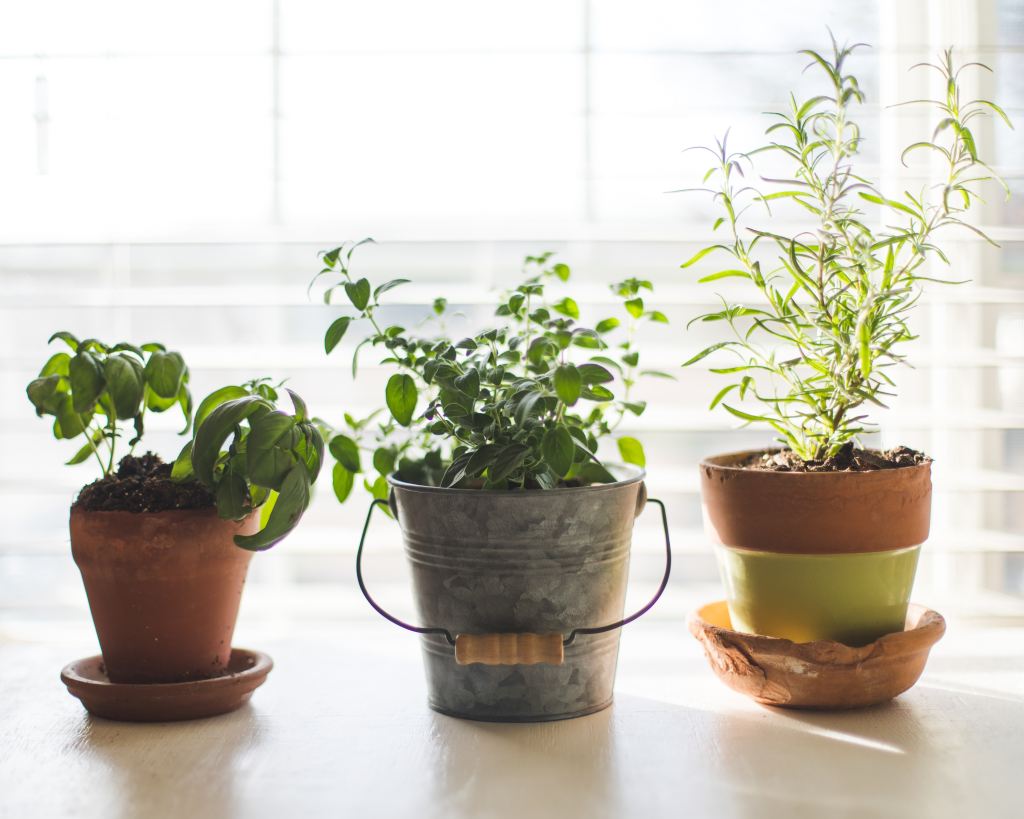
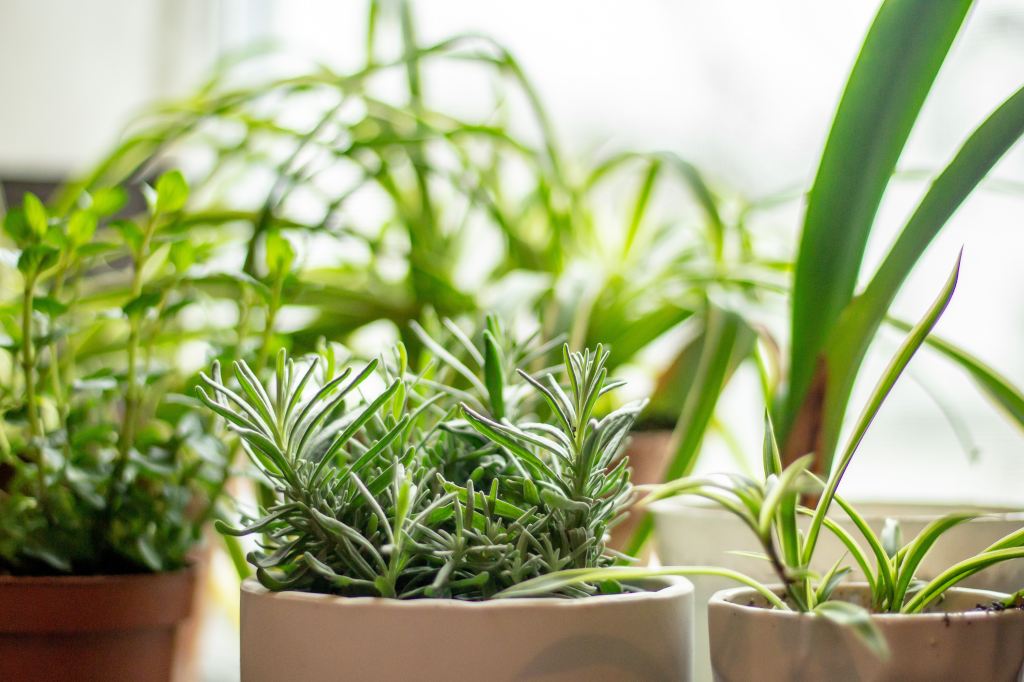
In today’s fast-paced world, more and more people are showing interest in sustainable living and growing fresh, homegrown ingredients. What better way to embrace this trend than by creating your own indoor herb garden? Not only does it provide a convenient source of aromatic and flavorful herbs, but it also adds a touch of greenery to your living space. Let’s embark on a journey together to learn how to create and nurture an indoor herb garden that will bring nature’s bounty right to your kitchen.
Step 1: Choosing the Appropriate Herbs
To begin with, pick the herbs that match your taste and are ideal for growing indoors. While selecting, think about things like the need for sunlight, growth patterns, and space limitations. Below are some preferred options for a herb garden inside, along with the conditions they need to prosper!
Basil:

To grow basil indoors successfully, you need a well-draining potting mix, adequate sunlight (6-8 hours daily), and a consistent temperature between 70-85°F. Use fluorescent or LED lights if natural sunlight is limited. Water regularly and let the soil dry out between waterings. Provide good air circulation and avoid overcrowding. Use a balanced, water-soluble fertilizer every 2-4 weeks during the growing season.
Parsley:
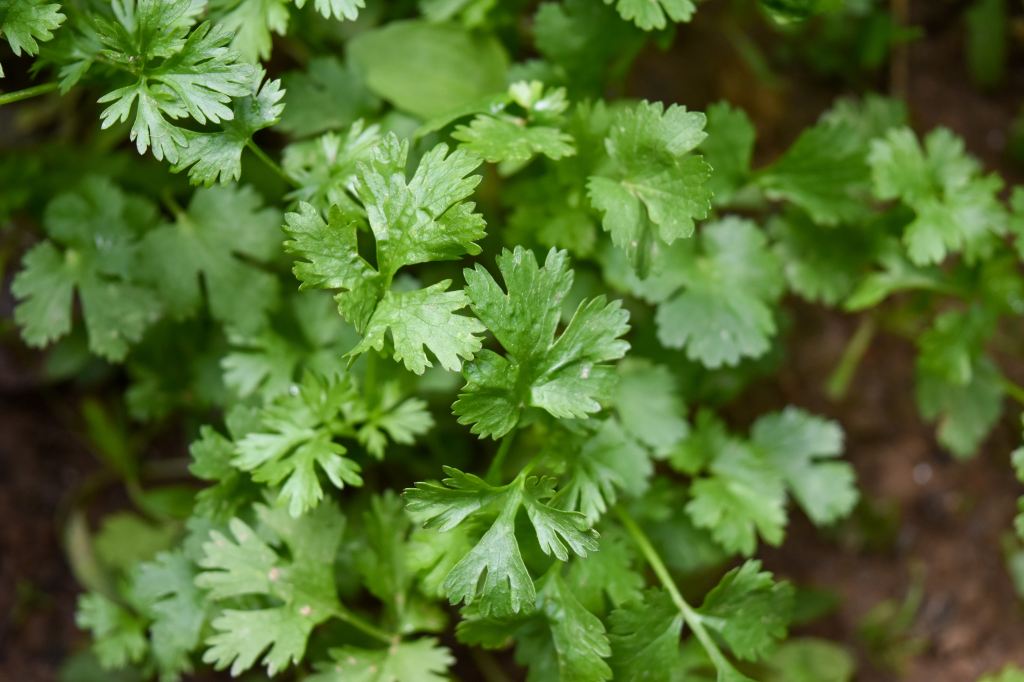
To cultivate parsley indoors, use a well-draining potting mix with organic matter, and position plants in a location with consistent, indirect sunlight, and water moderately. Allow the top inch of soil to dry out before watering, and provide good air circulation. Fertilize every 4-6 weeks with a balanced liquid fertilizer.
Mint:

To grow mint indoors, use well-draining soil and a container with drainage holes. Provide bright, indirect sunlight, and consistent moisture. Avoid overcrowding and promote air circulation through regular pruning. Keep the temperature cool and fertilize sparingly with a balanced, water-soluble fertilizer every 4-6 weeks during the growing season. With these considerations, you can cultivate a fragrant and abundant herb for culinary and medicinal purposes.
Thyme:
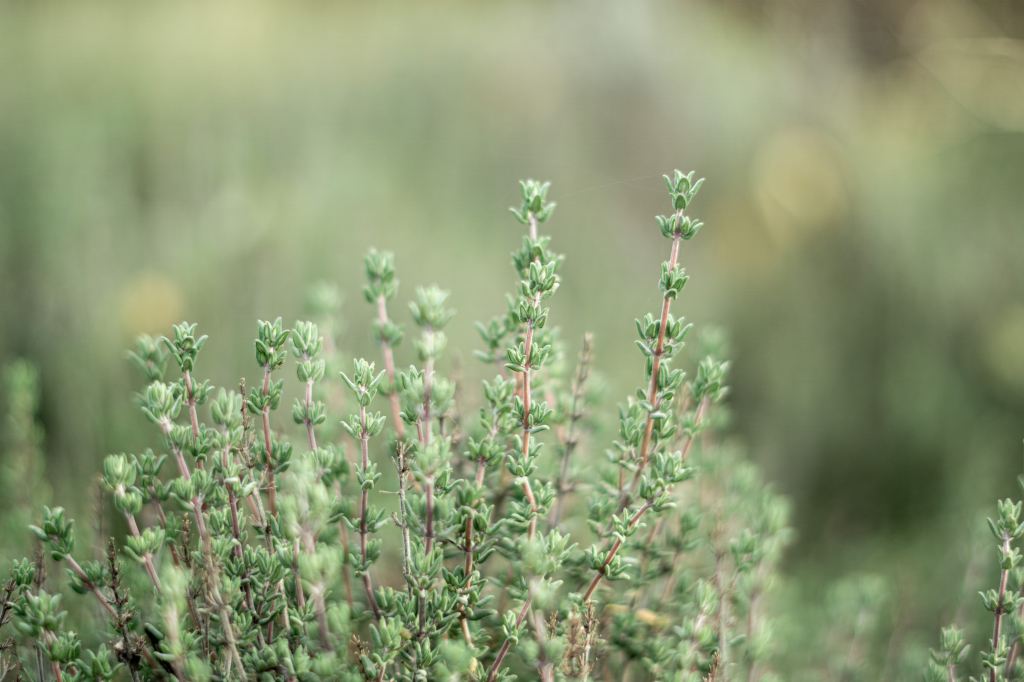
To grow thyme indoors, use a soil mix that drains well and place the container in a sunny location. Allow the soil to dry out between waterings, and fertilize sparingly every 4-6 weeks. Prune the plant regularly to encourage bushier growth. Keep the plant at average room temperature and ensure good air circulation. By following these guidelines, you can enjoy a flourishing indoor thyme plant with its distinctive flavor and aroma.
Oregano:
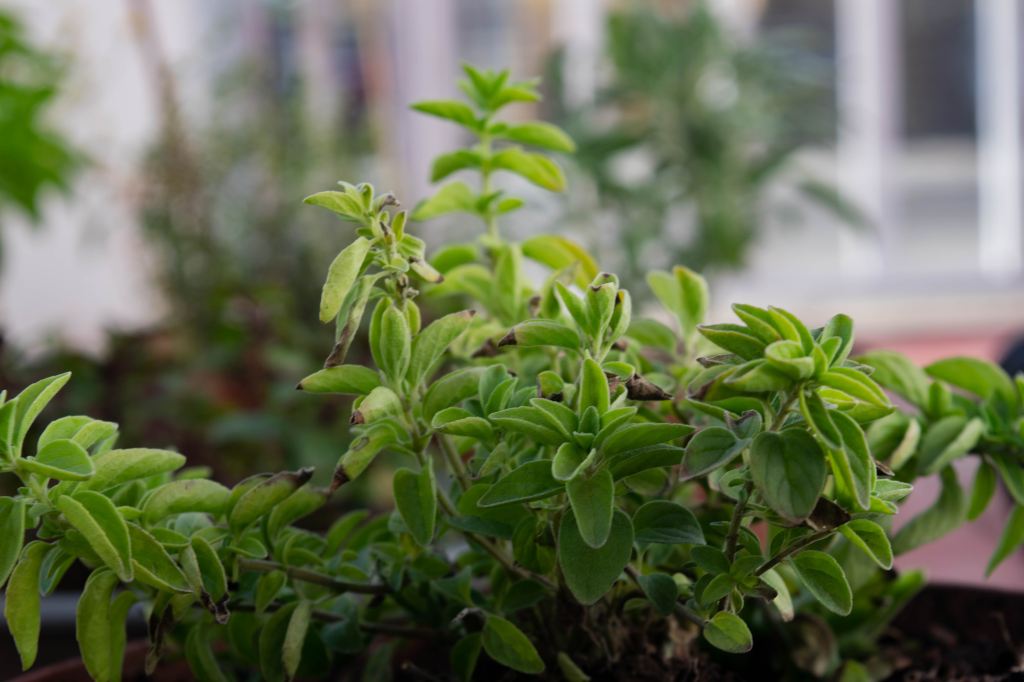
To grow oregano indoors, use well-draining soil and adjust its pH to slightly alkaline to neutral. Place the container where it can get at least 6 hours of direct sunlight or use supplemental grow lights. Water consistently and moderately. Keep the temperature between 70-80°F (21-27°C), provide adequate air circulation, and fertilize sparingly. Prune regularly and harvest leaves for culinary use.
Rosemary:

To grow a healthy indoor rosemary plant, use a well-draining potting mix with perlite or sand, place it in a sunny location, allow the soil to dry out between waterings, maintain a cool temperature, prune regularly, and fertilize sparingly.
Step 2: Selecting the Appropriate Containers
It’s important to choose containers that have good drainage to avoid waterlogged soil, which can be detrimental to the growth of roots. To ensure that your herbs have enough space to thrive, select pots of various sizes according to the herbs you have selected. Additionally, take into account the visual appeal of the containers to enhance the aesthetic value of your indoor garden.
Step 3: Selecting the Ideal Location
Herbs typically require bright, indirect sunlight to thrive. To grow your herbs, find a spot near a window that receives plenty of sunlight, preferably facing south or west. Make sure your herbs get at least 4-6 hours of sunlight daily. If natural sunlight is scarce, consider using artificial grow lights to ensure optimal growth of your herbs.

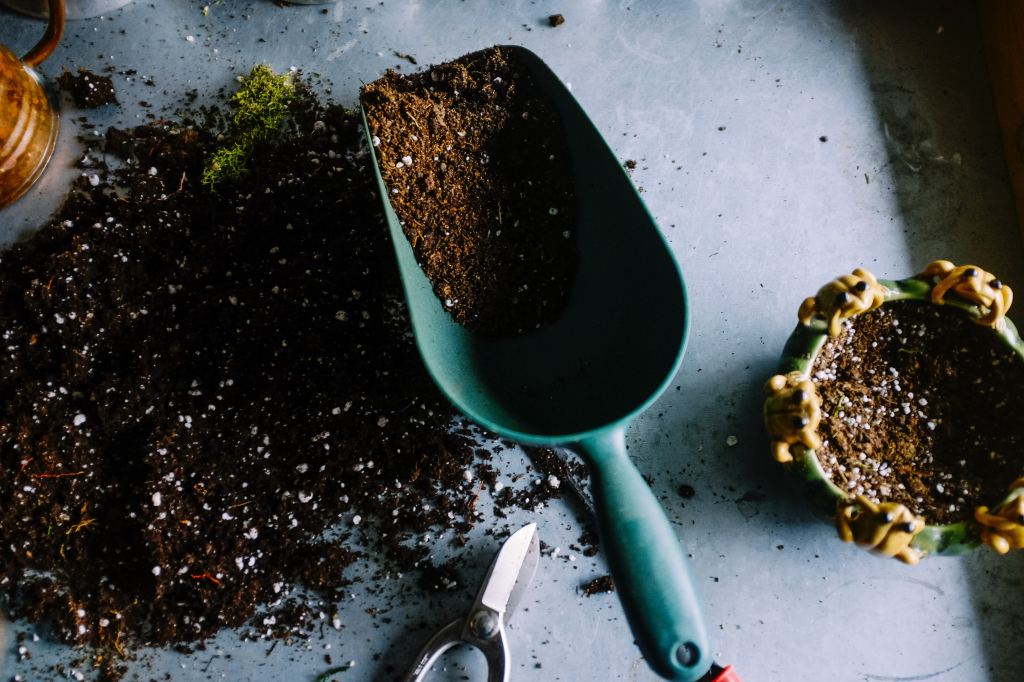
Step 4: Preparing the Potting Mix
Create a well-draining potting mix by combining quality potting soil with perlite or vermiculite. This blend promotes good aeration and prevents soil compaction, fostering a healthy root system. Ensure that the potting mix is moisture-retentive but not waterlogged.
Step 5: Planting the Herbs
Carefully transplant your chosen herbs into their designated containers, following proper spacing guidelines. Water them thoroughly after planting and keep a watchful eye on the moisture levels. Be mindful not to overwater, as it can lead to root rot.
Step 6: Providing Adequate Water and Nutrition
Establish a consistent watering schedule, allowing the soil to dry out slightly between waterings. Fertilize your herbs regularly with a balanced, water-soluble fertilizer to provide essential nutrients for robust growth. Adjust the feeding frequency based on the specific needs of each herb.
Step 7: Pruning and Harvesting
Encourage bushier, more productive plants by regularly pruning your herbs. Harvest leaves when they are at their peak flavor, typically in the morning after the dew has dried. Be sure to leave enough foliage for the plant to continue thriving.
Growing an indoor herb garden can be a rewarding and enjoyable experience that brings nature into your home while providing fresh, aromatic herbs for culinary delights. By following this step-by-step guide, you’ll be well on your way to cultivating a flourishing herb garden that adds both flavor and beauty to your living space. Embrace the joy of growing your own herbs and elevate your culinary adventures with the freshest ingredients at your fingertips. Happy gardening!


One Comment Add yours